The only time I really experiment with different strobe setups and themes is during an assignment shoot. This weeks assignment at
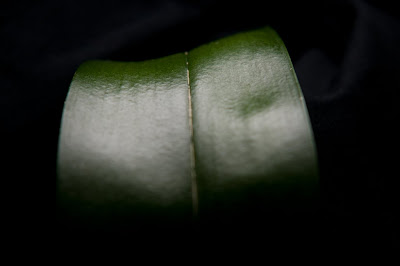
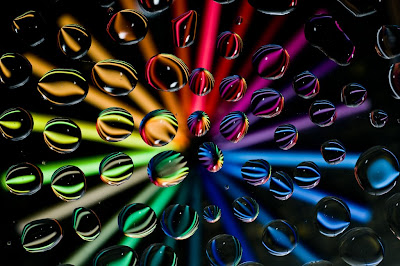
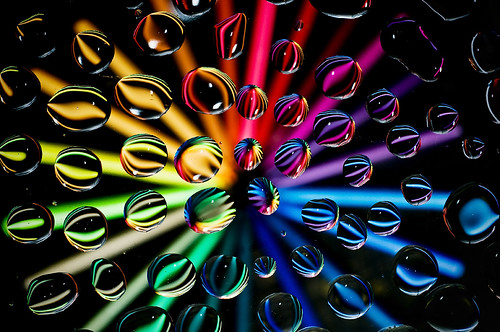
was "Bubbles". As we speak, I've posted my previous
shot for this assignment since the drops look very much like bubbles, but I felt that it's the definition of laziness, so I tried to make a new shot.
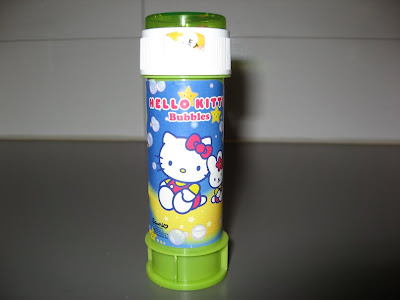
Ok, so the theme was "bubbles". The first thing I did was to buy a soap bubble dispenser at the local toy store. I ended up with a Hello Kitty model:
The store clerk asked if he should wrap it in gift paper, but I said: "No, it's for me". First time he's seen a 30 year old man buying soap bubbles for himself?:)
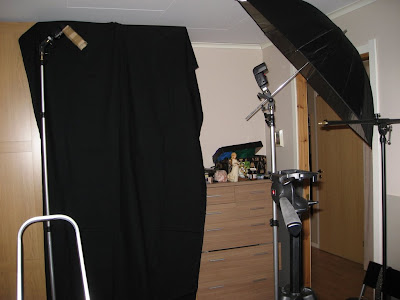
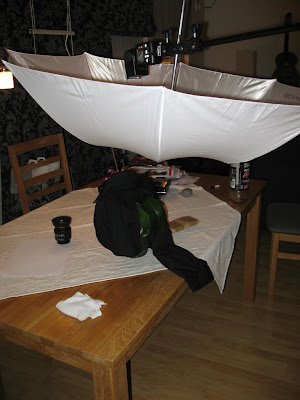
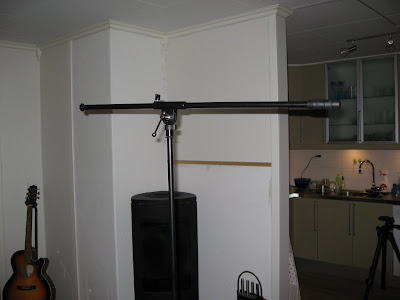
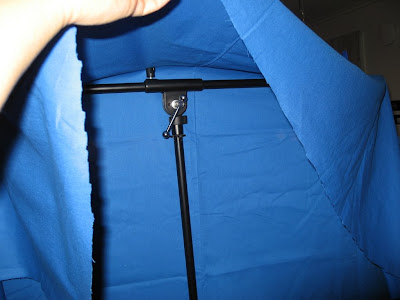
I wanted a fresh background for the bubbles, so I hung a blue fabric bought from Ikea over my microphone stand. (This mic stand is probably one of my most helpful props during these strope shots. I've used it almost everytime, holding umbrellas, flashes, fabric and of course a
microphone...)
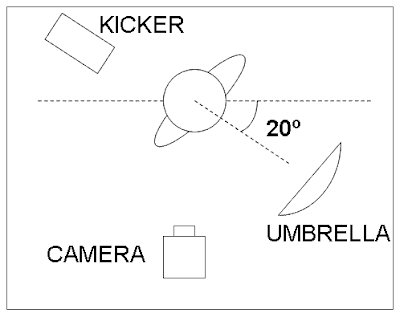
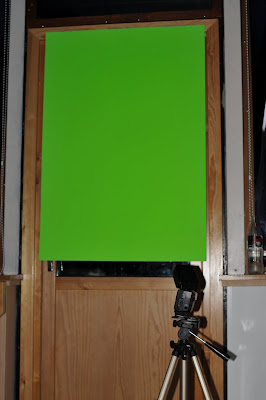
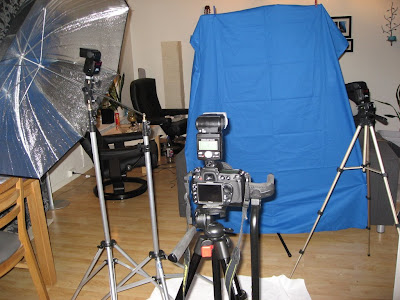
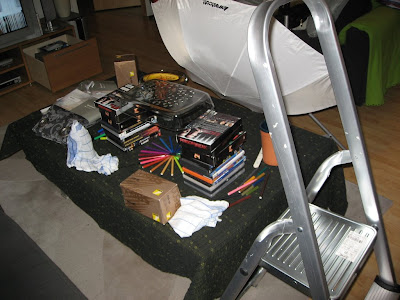
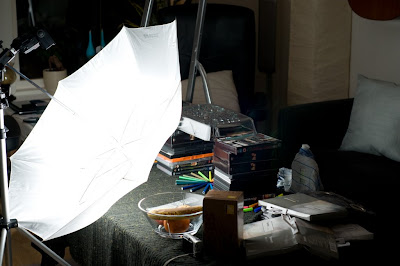
I wanted a strobe to light up the backround so I set up a bare flash pointing at the fabric from a about 45 degrees from the right side (camera right). And while I did that, I discovered something that I've never thought about before:
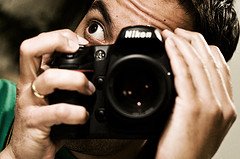
I use CLS for triggering the external flashes. That means that the flashes are controlled with optical signals from the commanded flash on the camera. About a millisecond before the shutter is opening, the commander flash sends out a trigger signal that is received by every flash in the setup. They have a little "window" on one side where the signal is recieved. In this picture it's located on the lower left side of the flash:
One problem I have come over during previous photo shoots is that the flash's window is pointing away from the camera, so that it does not detect the commander's signal, causing it to not fire at all. In situations like this I've instead used the radio controlled Cactus triggers, loosing the ability to control each flash's output from the camera.
I have also known that the flash head can be rotated 180 degrees in the horizonal plane. I feel so stupid... I have NEVER realized that this could be used to make the little "window" turn against the camera! In the photo above, the flash is rotated. I think it will be much easier to set up the strobes just the way I want from now on:)
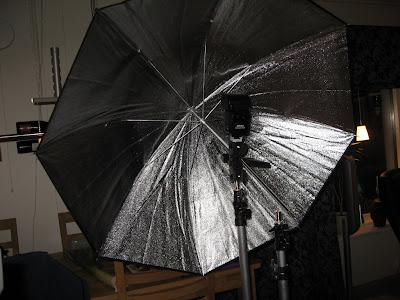
Moving on... With the flash pointing on the background a put up a reflective umbrella on camera left, pointing parallel with the focal plane.
I originally planned to use my wife as model on this photo shoot, but she didn't feel too well, so I had to use myself insted. This made the shot very tricky. I don't have remote control and using a self-timer would be hopeless. Trying to catch the perfect bubble shot with a self-timer in a self-portrait would take ages! So I had to figure out another way of doing it.
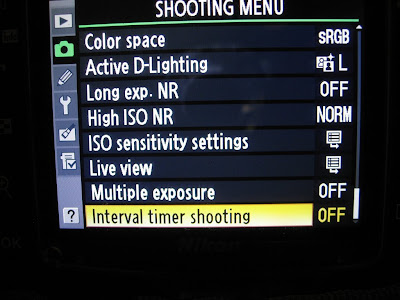
I must admit that the Nikon D300 has a lot of functions that I haven't studied yet, but while searching trough the menus I found a function called "Interval timer shooting". That sounded too good to be true! At first it looked a little complicated, but it's pretty logical. I wanted to shoot several shots with a 3 second interval (to avoid flash misfire). Here's how that's done on the D300:
From the Shooting Menu (the camera symbol), choose INTERVAL TIMER SHOOTING:
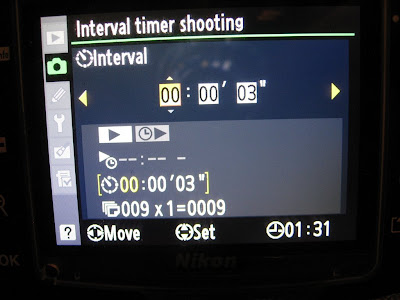
To start shooting right away, choose NOW and press the the RIGHT arrow:
Enter the time between each shot, in this case 3 seconds and press the arrow:
This screen made me a little confused, but here you enter how many intervals the camera should run AND how many shots to be taken for each interval. I wanted a total of 9 intervals (and only one shot for each interval. Then press the arrow:
If you want to just save these settings, press NO. When you press YES the camera starts shooting automatically. You don't have to use the shutter button at all:
Now I could finally take several pictures of myself without a remote. Now I just had to figure how to fit myself in the frame. One thing I should mention is that nowdays I'm trying to get the crop I want in-camera instead of doing that in PP. The reason is that I want to use the full resolution that my CMOS sensor can provide. I planning to shoot stock photos later and it seems that bigger is better.
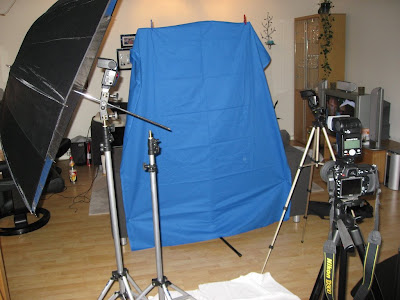
I took out another light stand and placed the top of it at the height and distance from the camera that I wanted my mouth to be at during the shoot. I autofocused on this and turned the knob to MANUAL FOCUS. This way the camera won't focus for every interval, making it easier to time the bubble blowing.
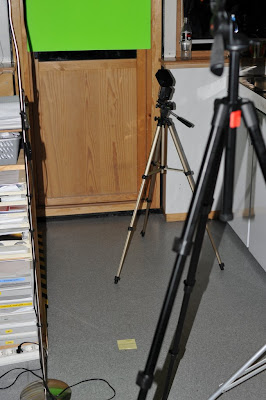
Now that I've found the Y-axis an Z-axis for the position of my mouth, I put another stand next to the camera, indicating the X-axis for my mouth. I could now walk in front of the camera and just make sure that my mouth is positioned in the intersection between those two stands. There's nothing wrong about utilizing triangulation in a photo shoot:) In the photo below you see the first stand is placed in front of umbrella stand and the other stand is to the right of the camera:
Finally I could start making bubbles! I thought.... I hadn't adjusted the exposure at all. I was so caught up in the setup that I completely forgot that...
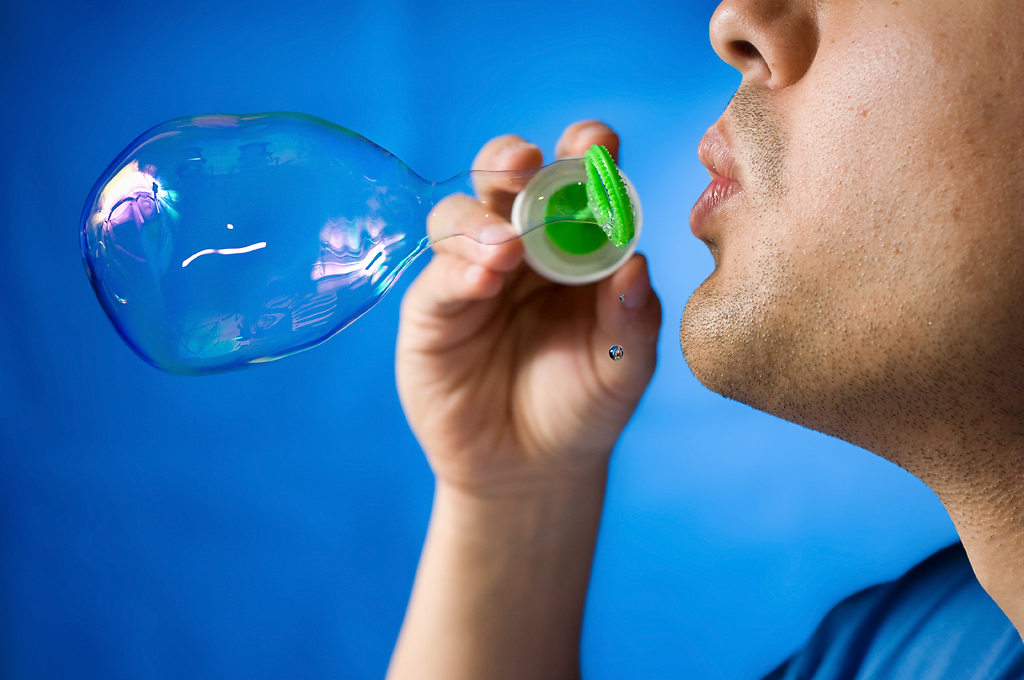
I wanted a wide aperture to blur the backround so that only me and the bubble would be in focus. I didn't want any motion blur in the bubbles so I chose the maxiumum sync speed. These are the final settings:
Background flash: 1/64th power @24mm zoom
Umbrella flash: 1/16th power @24mm zoom
Exposure: 1/250 @ f4 ISO 400
Lens: Nikkor 50mm f1.8D AF
Now I could start shooting, and shooting I did! I got so many poor shots in the beginning. I realized that I haven't blown soap bubbles in years and figuring the right amount of "pressure" took about 30 pictures.
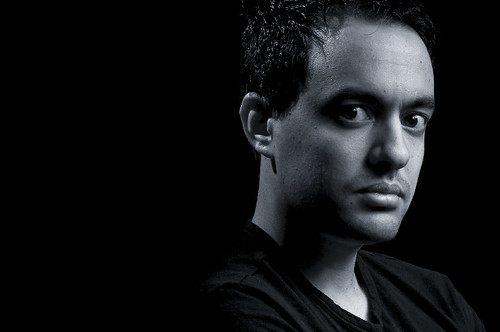
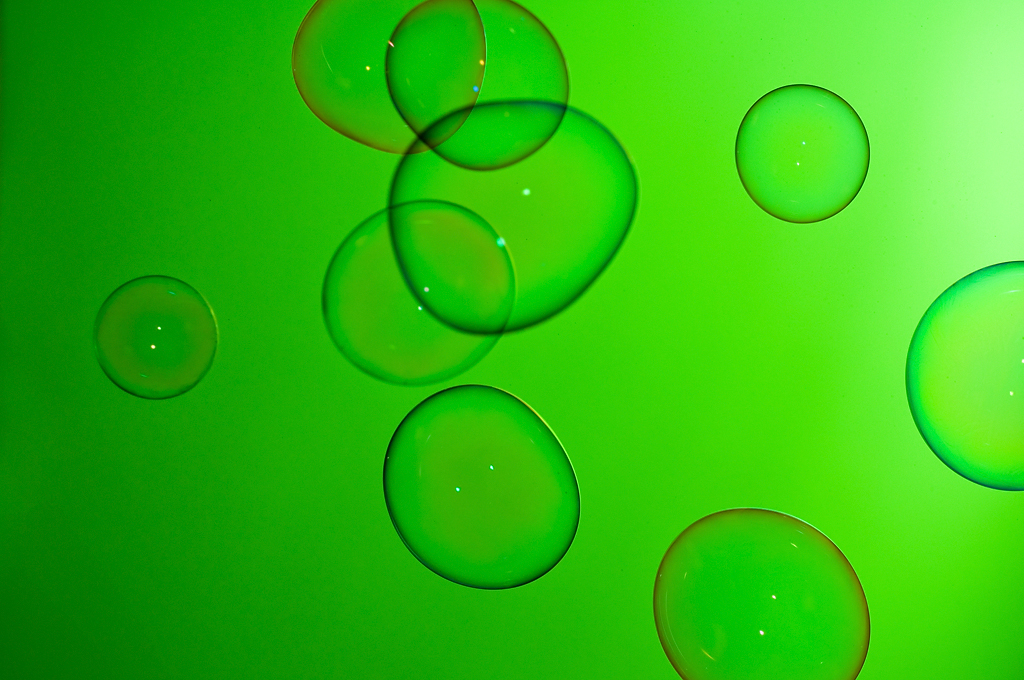
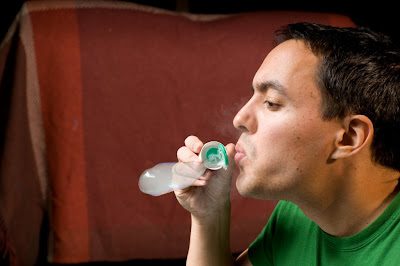
Here's the photo I ended up with, showing the bubble the moment before it lets go. This is the RAW file with exposure adjusted in Camera Raw:
Observant readers have probably noticed that I didn't iron the background fabric prior to shooting. It's not a slip, just laziness. I was hoping that I could blur out the background with a wide aperture to smooth the wrinkles. But as wise people say: "A wide aperture is no substitute for ironing". This caused some unnecessary work in Photoshop. I had to isolate the background and Gaussian blur it like there was no tomorrow. Still there are some wrinkles left, appearing like darker areas on the fabric. But anyway, lesson learned! Other PP I did:
- Smoothing the skin by selecting highlights and blur them a little
- Removed some dark spots on my skin
- Increasing the blues a little
- Added vignette
- Sharpening
So this is what the result looks like:
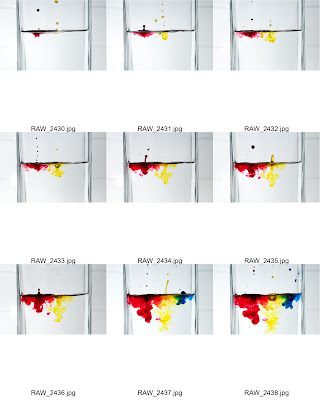
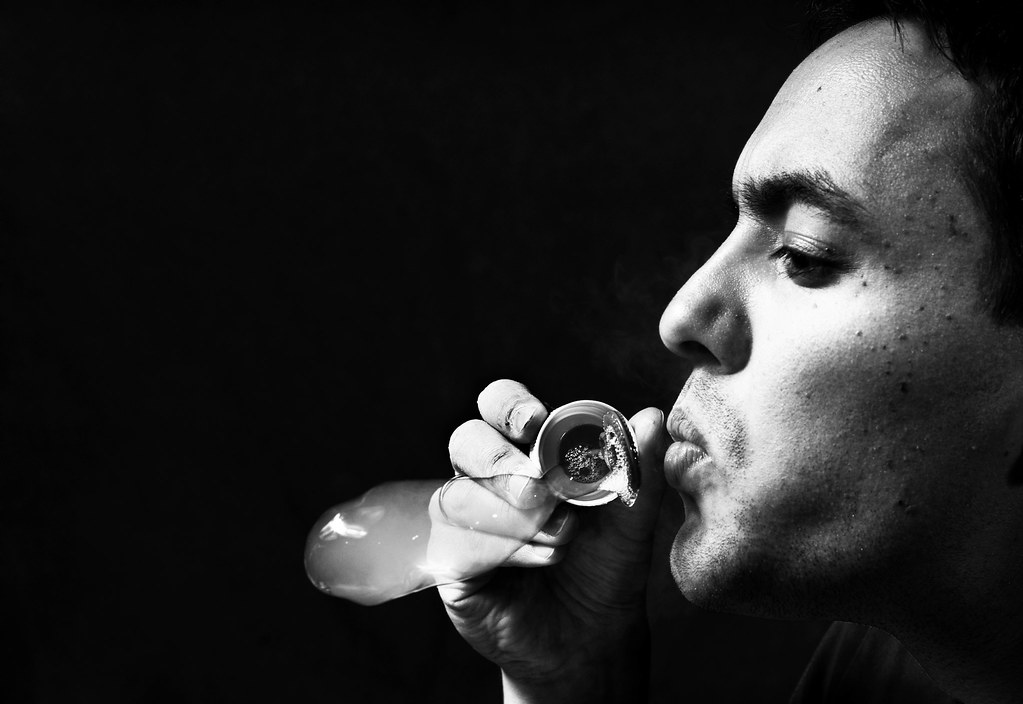
Creation of a bubble
I don't think it's worth using in the bubbles assignment, but if I'm not getting a better shot withing Tuesday, I'll probably use this or the marbles shot.
What I could have done differently:
- Used another model to get it just perfect. I could have experienced more with different angles and persectives and the model would maybe have a smoother skin:)
- I should have shaved... Those stubbles doesn't look too good!
- As mentioned I should have ironed the background to avoid too much PP work.